
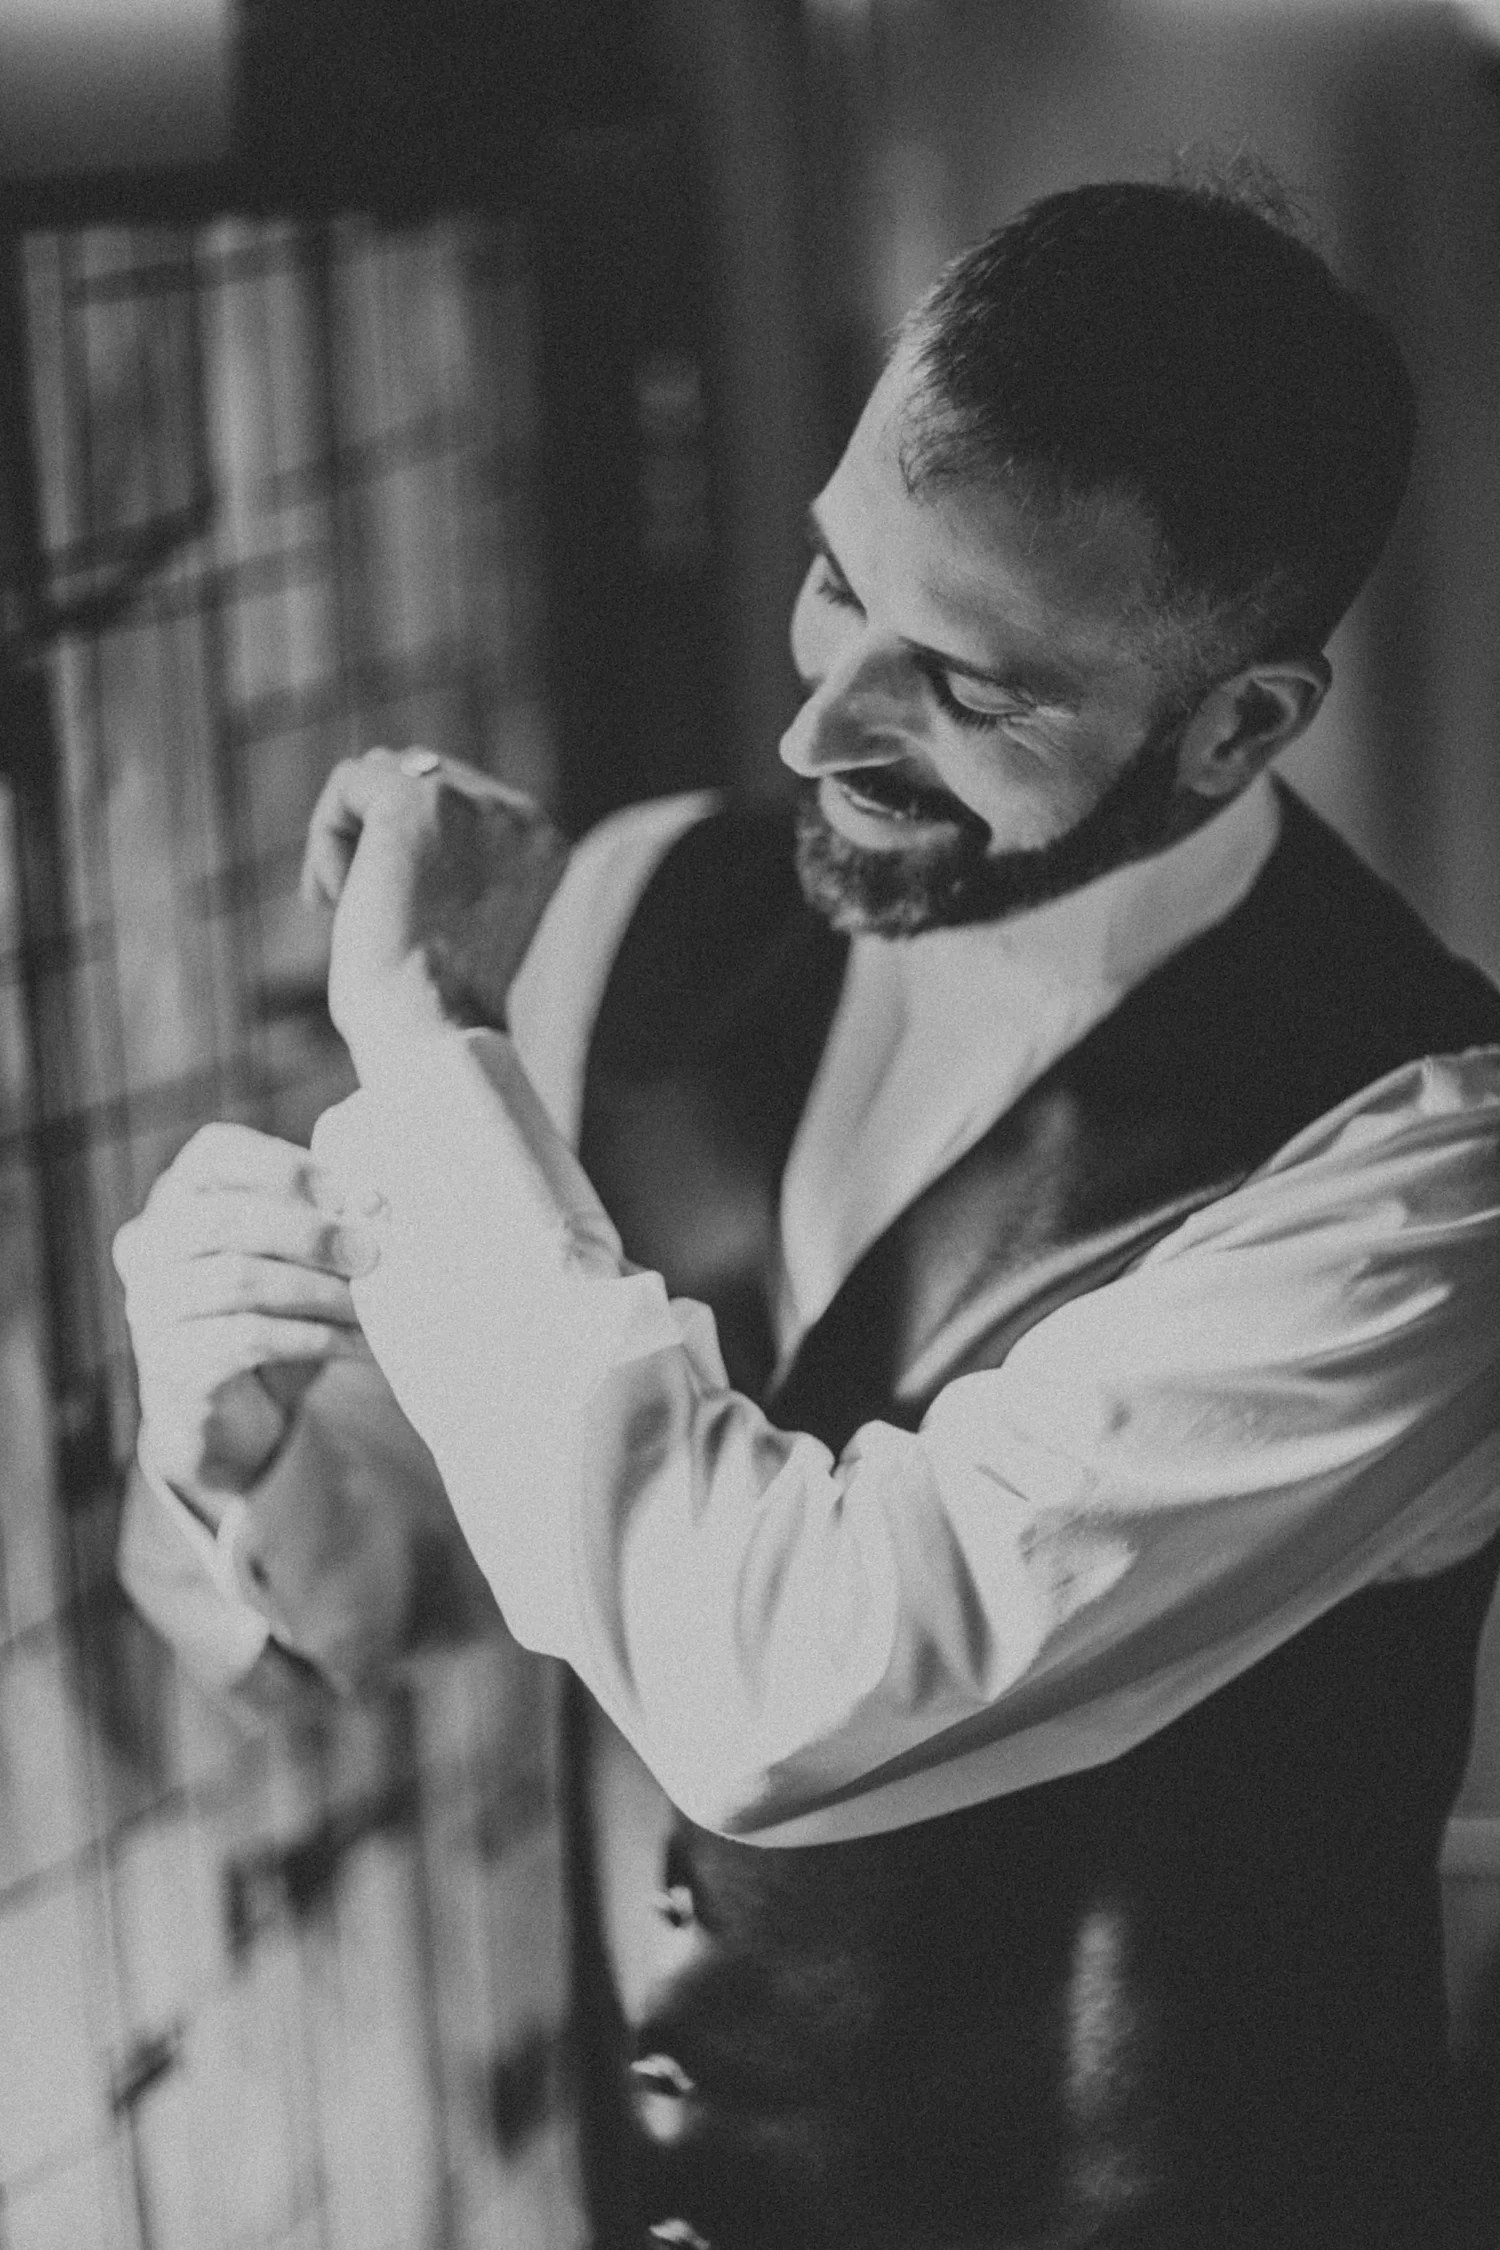
Planning/Wedding day etiquette
Wedding day etiquette · DressTie the bow, then breathe
A self-tie bow tie takes about two minutes once your hands know the shape. Here is the method, two videos to follow along with, and the timing that keeps it out of a rush.
- TimeTwo minutes, once practised
- PracticeFive tries the week before
- Tie itBefore the getting-ready photos
- StyleButterfly or batwing
A bow tie is just a shoelace bow tied around your collar. If you can tie your shoes, you can tie this.
Pre-tied and clip-on bow ties are fine, but a self-tie bow sits better against the collar, looks slightly imperfect in the right way, and can be worn untied at the end of the night. It is also the tie most grooms, fathers and groomsmen panic about at 1:45 in the afternoon.
Practise it in front of a mirror the week before, not on the morning. Set the size first, tie it on a shirt with the top button done, and keep a pre-tied spare in the groomsmen’s bag in case nerves win.
Eight moves, one bow
Instructions assume you are looking in a mirror. Start with the top button fastened and the collar up.
Set the length
Adjust the slider to your collar size. Drape the tie so the left end hangs about an inch and a half lower than the right.
Cross long over short
Bring the longer end across the shorter one, just below your chin.
Up through the neck loop
Pass the long end up behind the cross and through the loop at your neck. Pull snug, not tight.
Fold the front bow
Fold the short end horizontally at its widest point to make the front half of the bow. Hold it across the collar points.
Drop the long end down
Let the long end fall straight down over the middle of that fold.
Fold the back bow
Fold the long end back on itself to make the second bow shape, pointing the same way as the first.
Push it through the knot
Feed that second fold through the small loop behind the front bow. This is the step everyone fumbles: go slowly and push from the fold, not the tip.
Tighten and shape
Pull the folded ends gently in opposite directions to tighten, then even the wings. A little asymmetry is right; it is how people know you tied it.
Two videos worth pausing
Watch one start to finish, then tie along with it with the video paused at each step.
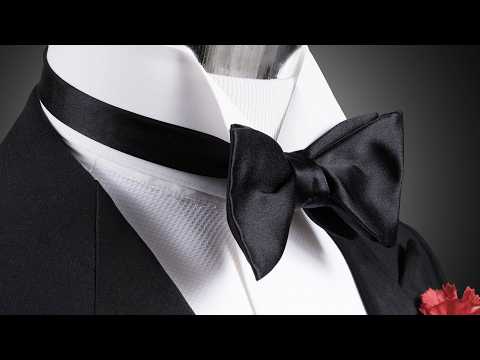
How to tie a bow tie, step by step for beginners
Gentleman’s Gazette on YouTube. Slow, close and mirrored. The best one for a first attempt.

How to tie a perfect bow tie
Ties.com on YouTube. Short and clear once you know the shape. Good for the morning-of refresher.
Lopsided, loose or limp
One side is bigger
Pull the larger wing’s folded edge, not its tip, until the two balance. If it will not move, the knot is too tight: loosen and reshape.
It spins or droops
The neck band is too long. Shorten the slider one notch so the bow sits on the collar points instead of below them.
The knot is a lump
You twisted the long end in step three. Untie and keep the fabric flat as it passes through the neck loop.
It hides under the collar
Use a wing or a point collar with enough height. Tuck the collar tips behind the bow, never over it.
Pack a pre-tied backup
One matching pre-tied bow in the getting-ready bag costs little and ends a ten-minute struggle instantly.
Match the bow to the face
A bow should be no wider than the outer edges of the eyes. Larger frames suit a batwing or wider butterfly.
Tie it before anyone picks up a camera
The best moment for a bow tie photograph is someone helping: a father, a best man, a partner on a first look. Plan for that and it stops being a chore.
Get fully dressed except the jacket about fifteen minutes before your photographer arrives in the getting-ready room. Tie the bow once, alone, so you know it works. Then untie it and let whoever you choose tie the last one for the camera, or simply straighten it for you.
Leave the jacket off until the tie is done; arms move more freely and the shirt stays tucked. Read our guide to how we photograph getting ready for how that hour usually runs.
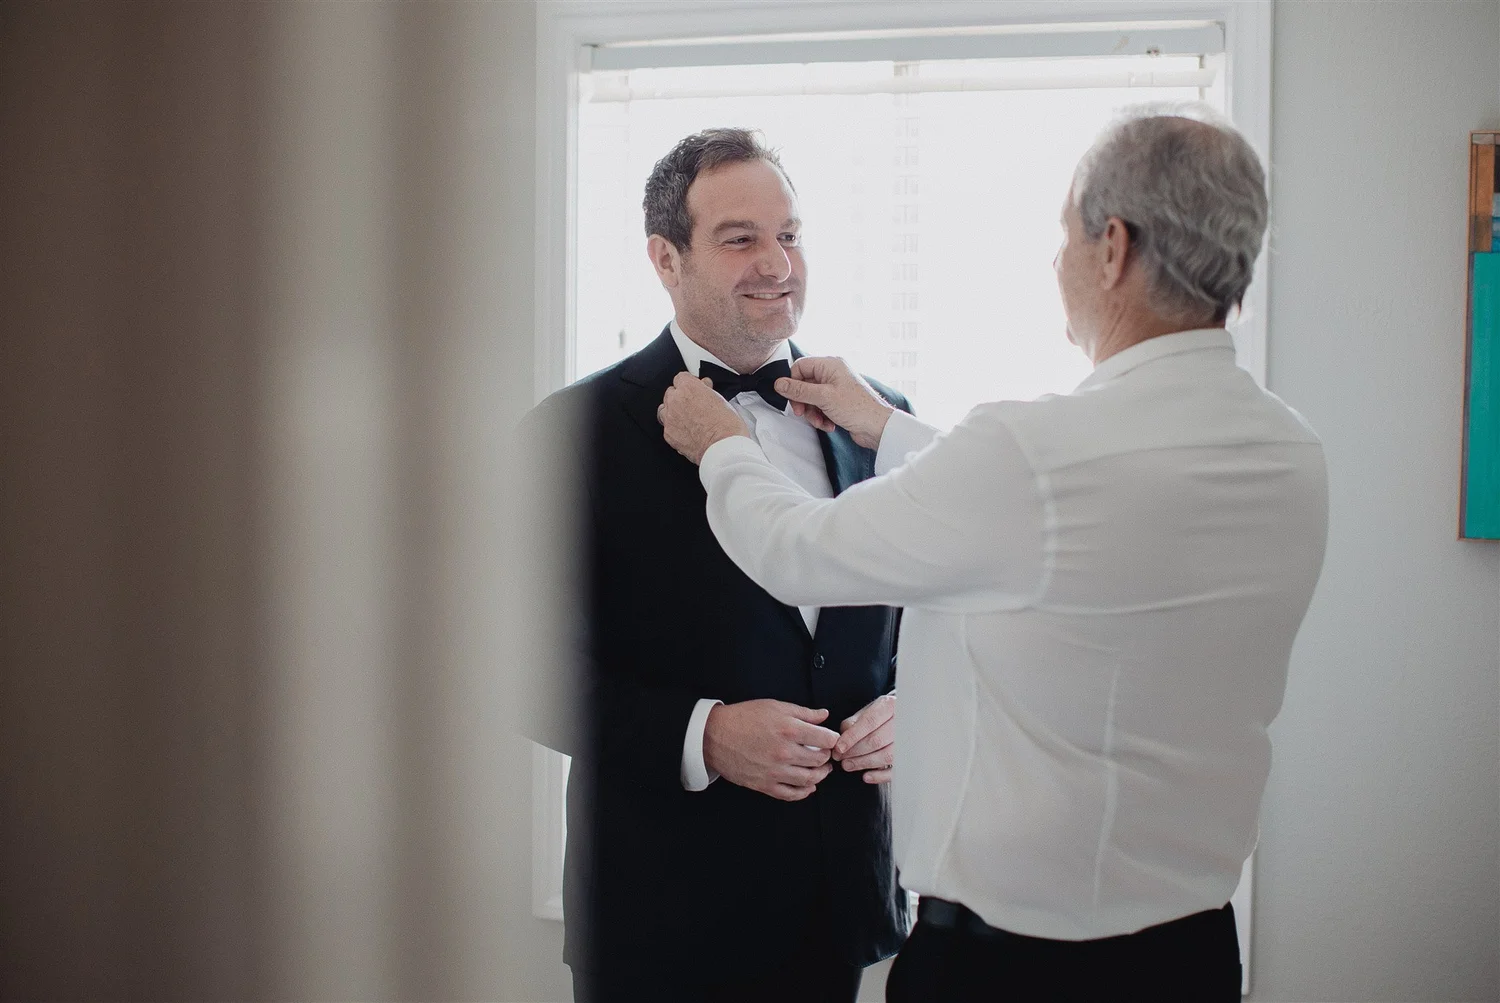

If you can, tie it yourself and then let your dad or your best man straighten it. Thirty seconds of two people standing close is one of the quietest, most-kept photographs of the whole morning.
Lulan Studio · wedding photographers & filmmakers
Bow ties, answered
Should I wear a self-tie or a pre-tied bow tie to a wedding?
Either is correct. A self-tie bow looks more natural, sits better on the collar and can be worn undone late at night. A pre-tied bow is faster and fail-safe. Many grooms wear a self-tie and keep a pre-tied spare in the bag.
How tight should a bow tie be?
Tight enough that the band does not show above the collar, loose enough to slide one finger between the band and your neck. If it spins or drops below the collar points, shorten the slider.
What collar works with a bow tie?
A wing collar is the classic formal choice; a standard point collar works well and is easier to wear all day. Tuck the collar points behind the bow rather than over it.
When should the groom tie his bow tie on the wedding day?
Tie it once on your own before the photographer arrives so you know it works, then have a parent, best man or partner tie or straighten the final one during the getting-ready photos.
Keep reading, before the big day
All twenty guides live in our wedding day etiquette collection.
Planning the day? Let’s talk it through.
Tell us who is speaking, who is walking and when the dancing starts. We will help you build a timeline that gives every one of these moments its light, and photograph them so they last.