
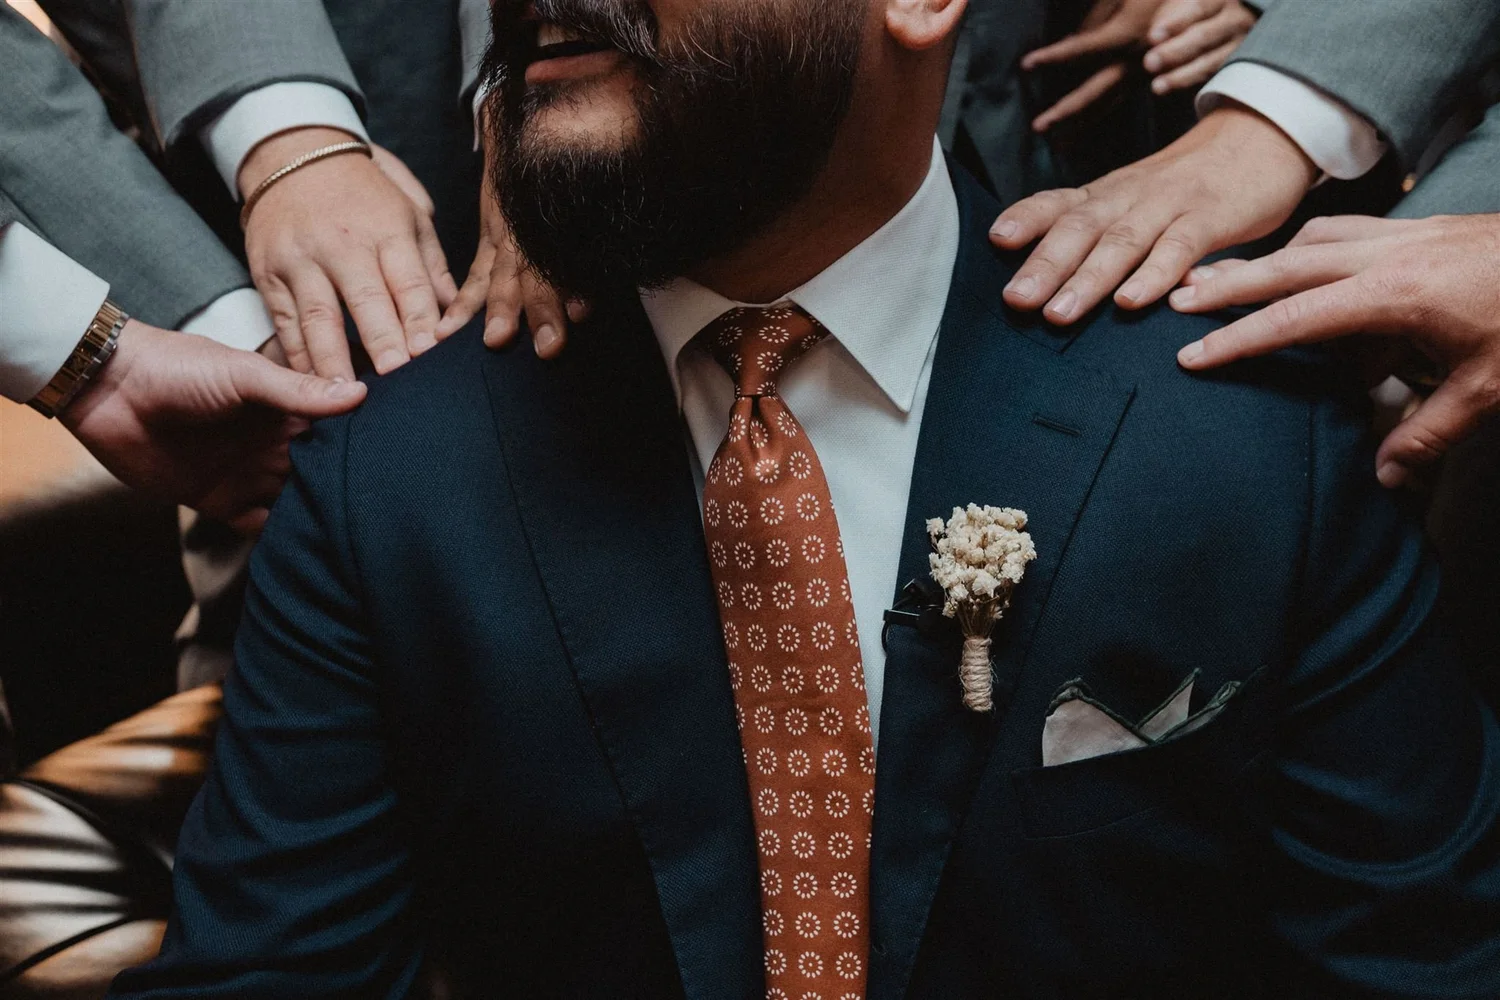
Planning/Wedding day etiquette
Wedding day etiquette · DressThe knot that lasts through the last dance
Three knots cover every wedding: one slim, one balanced, one formal. Pick the one that suits your collar, learn it with a video, and set it once.
- Most versatileHalf Windsor
- Tip should reachThe belt buckle
- PracticeThree tries per knot
- FinishA single centred dimple
The best tie knot is the one that fills your collar without crowding it.
A narrow knot in a wide spread collar looks lost; a big knot in a narrow point collar pushes the collar open. Match the knot to the collar, the tie’s thickness and your build, and the rest is practice.
Every knot below starts the same way: collar up, top button fastened, tie draped with the wide end on your right, hanging well below the narrow end. Finish by sliding the knot up to the collar and folding the collar down.
Three knots, three jobs
| Knot | Shape | Best with | Good for |
|---|---|---|---|
| Four-in-hand | Slim, slightly asymmetric | Point or narrow collars; thicker ties | Groomsmen, guests, relaxed and daytime weddings |
| Half Windsor | Medium, symmetrical | Most collars; medium-weight ties | Grooms and fathers who want one reliable knot |
| Full Windsor | Wide, triangular | Spread or cutaway collars; thinner silk ties | Formal and evening weddings, taller men |
The four-in-hand, easy and slim
Drape
Wide end on your right, hanging about twelve inches lower than the narrow end.
Cross over
Bring the wide end across the front of the narrow end, to the left.
Wrap behind
Pass it back under the narrow end to the right.
Cross again
Bring it across the front once more, to the left, making a horizontal band.
Up through the neck
Push the wide end up through the loop at your neck from underneath.
Down through the front
Feed it down through the horizontal band, pinch a dimple under the knot and slide it up.

Four-in-hand tie knot tutorial
Gentleman’s Gazette on YouTube. Step by step, with notes on the dimple.
The half Windsor, the safe choice
Drape
Wide end on your right, about a hand’s length lower than for a four-in-hand.
Cross over
Cross the wide end over the narrow end to the left.
Under and up
Bring it under the narrow end and up through the neck loop from below.
Down to the left
Bring it down the left side, then across the front to the right.
Up again
Push it up through the neck loop from underneath once more.
Through the front
Bring it down through the band across the front, shape the dimple and tighten.

Half Windsor knot, point-of-view tutorial
Reef Knots on YouTube. Filmed from your own eye line, so there is nothing to mirror.
The full Windsor, for black tie energy
Drape long
Wide end on your right, hanging lower still. This knot uses the most fabric.
Cross and up
Cross the wide end over, then up through the neck loop and down to the left.
Around the back
Take it behind the narrow end to the right.
Up and down the right
Bring it up through the neck loop and down on the right side.
Across the front
Cross it over the front to the left, making the band.
Up and through
Up through the neck loop one last time, down through the band, then tighten evenly on both sides.

The full Windsor knot (double Windsor)
Reef Knots on YouTube. Clear close-ups of the wraps that make the knot symmetrical.
Length, dimple, and the clip
Length
The tip of the wide end should touch the top of your belt buckle. Too short? Re-tie with less fabric in the knot.
Dimple
Press a finger into the centre of the tie just below the knot as you tighten. One dimple, centred.
Tie bar
Wear it between the third and fourth shirt buttons, no wider than the tie itself.
Groomsmen
Have everyone tie the same knot so the line-up photographs match.

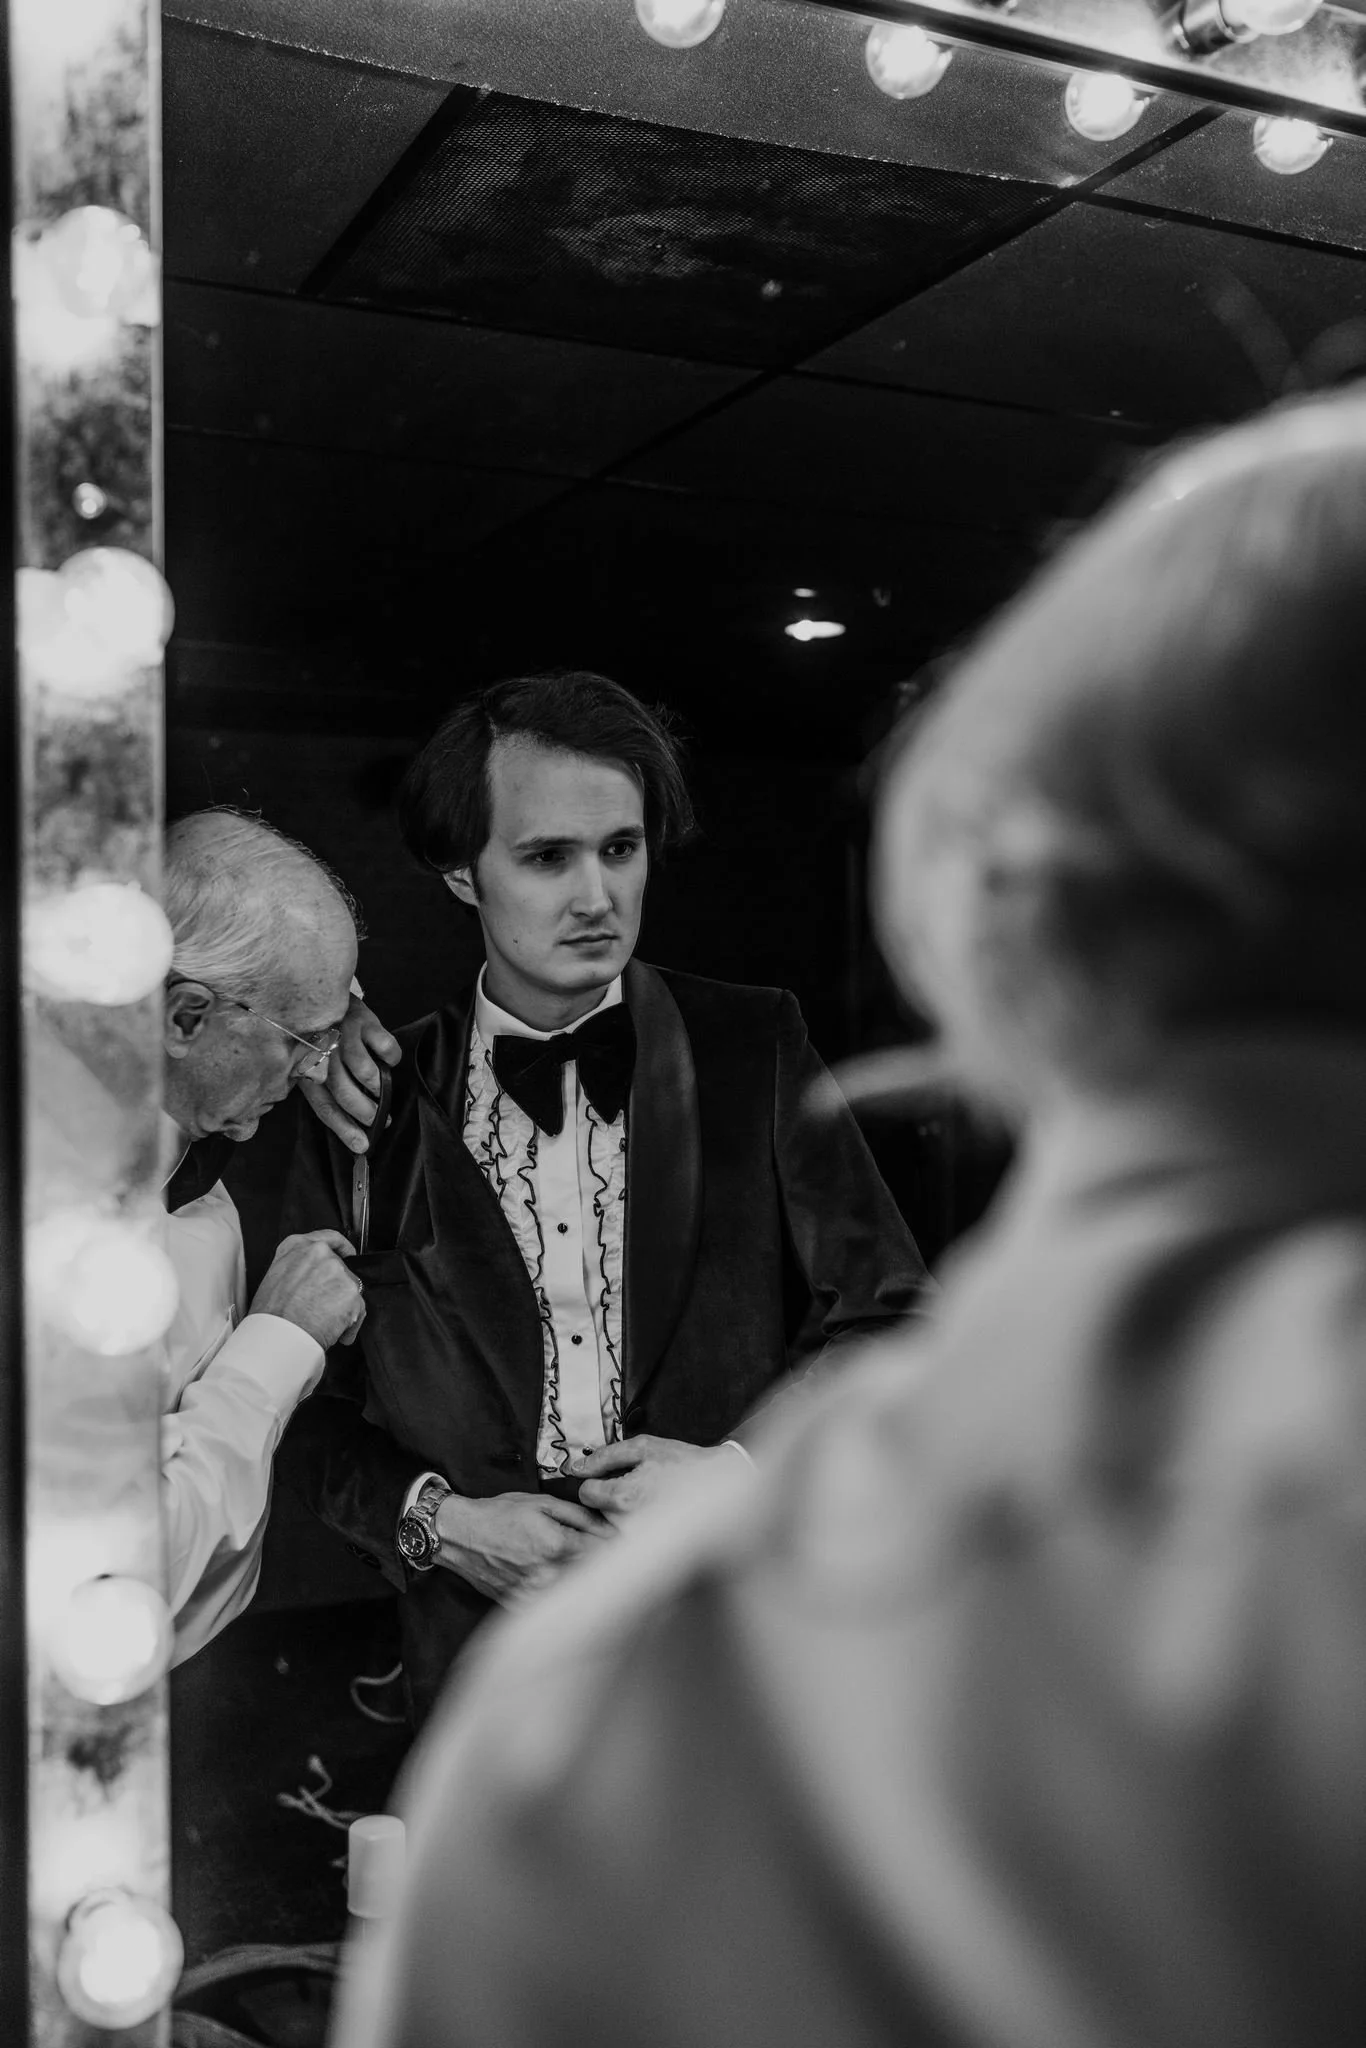
Tie it before the jacket goes on, then do not touch it. The knot we photograph at the altar is the one you set in the hotel room; loosen it only after the toasts, when the dancing starts.
Lulan Studio · wedding photographers & filmmakers
Ties, answered
What is the best tie knot for a wedding?
The half Windsor suits most collars and ties and looks formal without being bulky. Choose the full Windsor for a spread collar and a formal evening wedding, and the four-in-hand for a slimmer, more relaxed look.
How long should a tie be?
The tip of the wide blade should reach the top of the belt buckle. If it is too short or too long, re-tie it with the wide end starting lower or higher.
Should groomsmen all tie the same knot?
Yes, if you can. Matching knots make the line-up look intentional in photographs. The four-in-hand or half Windsor are easiest for a mixed group to learn.
Should the groom wear a tie or a bow tie?
A bow tie is the traditional pairing with a tuxedo; a long tie suits a suit. Either can work, as long as the groomsmen and the groom feel coordinated.
Keep reading, before the big day
All twenty guides live in our wedding day etiquette collection.
Planning the day? Let’s talk it through.
Tell us who is speaking, who is walking and when the dancing starts. We will help you build a timeline that gives every one of these moments its light, and photograph them so they last.